Wednesday, February 19, 2014

Chocolate Covered Cherry Cookies...

Happy Valentine's Day! A few days late.

Truthfully we don't usually do much for Valentine's Day, but since this is our first year homeschooling, my little man was bummed about missing out on all the little holiday parties. It is the only thing he has complained about since we started this adventure. So I try to do something each holiday to have a little "party", that still involves learning. So for Valentine's day my little munchkin invented a cookie recipe that he wanted to make for his Nana. I also made a special breakfast for my boys and since it is never fun to actually go out to dinner on Valentine's night, unless you like waiting an hour in line to sit down to wait even longer for an overpriced dinner, we made a special at home dinner.

For breakfast I made eggs in a basket. Munchkin actually eats this almost everyday for breakfast but instead of using my normal round biscuit cutter to cut out the center I used a heart cookie cutter. You cut the shape into the center of a piece of bread. Butter the bread on both sides or just lightly spray you pan with non-stick spray. Lay the bread into a hot pan (I used my flat electric griddle) crack an egg into the center and wait. Flip it over and continue to cook until egg reaches desired doneness. Munchkin likes his egg over easy, if that yolk is cooked too much he won't touch it. My husband and I like ours more over medium.

The night before Valentine's day we made the dough for the cookie concoction and let it chill overnight. Then the day of we finished the cookies and delivered them to his Nana. He was so proud. It was actually quite difficult to come up with this recipe. He wanted something specific that didn't really exist as far as I could tell. He wanted cherry cookies that were hearts but not a sandwich cookie. I tried looking online at all kinds of cookie pictures with him to find what he wanted, nothing satisfied him. Then we went to the grocery store and tried to figure it out. He didn't like any of the chocolate frosting because "they would be too thick" he said. I told him a about a delicious treat called ganache and he said "that's exactly what I want!". He then decided that the cookies would be best with dried cherries. Well after all that we were ready to make cookies. I just started with a basic sugar cookie recipe and added his dried cherries. He wanted to add cherry flavoring to the cookies but since they don't sell that I convinced him to let me use almond extract because it gives a nice cherry like flavor. He did all the hard work, except the dishes. He even learned how to use the mixer.

He started out by chopping his dried cherries and gathering all the required ingredients.

 He then measured out his ingredients and sifted the dry ingredients together. We used a fine sieve and whisked the ingredients together over large bowl.
Then we started "mixer 101" before I let him touch the stand mixer. I gave the over dramatic warning about sticking anything in the mixer while it is running. I told him it would rip his arm off.
He preceded to cream together the butter and sugar. Then adding the remaining ingredients until it made a nice homogeneous dough.
When it is all mixed up, you form the dough into two balls. I do this on top of the plastic wrap, set the second ball onto a second piece of plastic. Then loosely wrap the balls in plastic and squish until it makes a nice even disc. Repeat with the second ball, then wrap them tightly in the plastic wrap and refrigerate at least two hours. I let ours sit overnight because we didn't have time that night to finish them. Plus he wanted to give his Nana really fresh cookies.
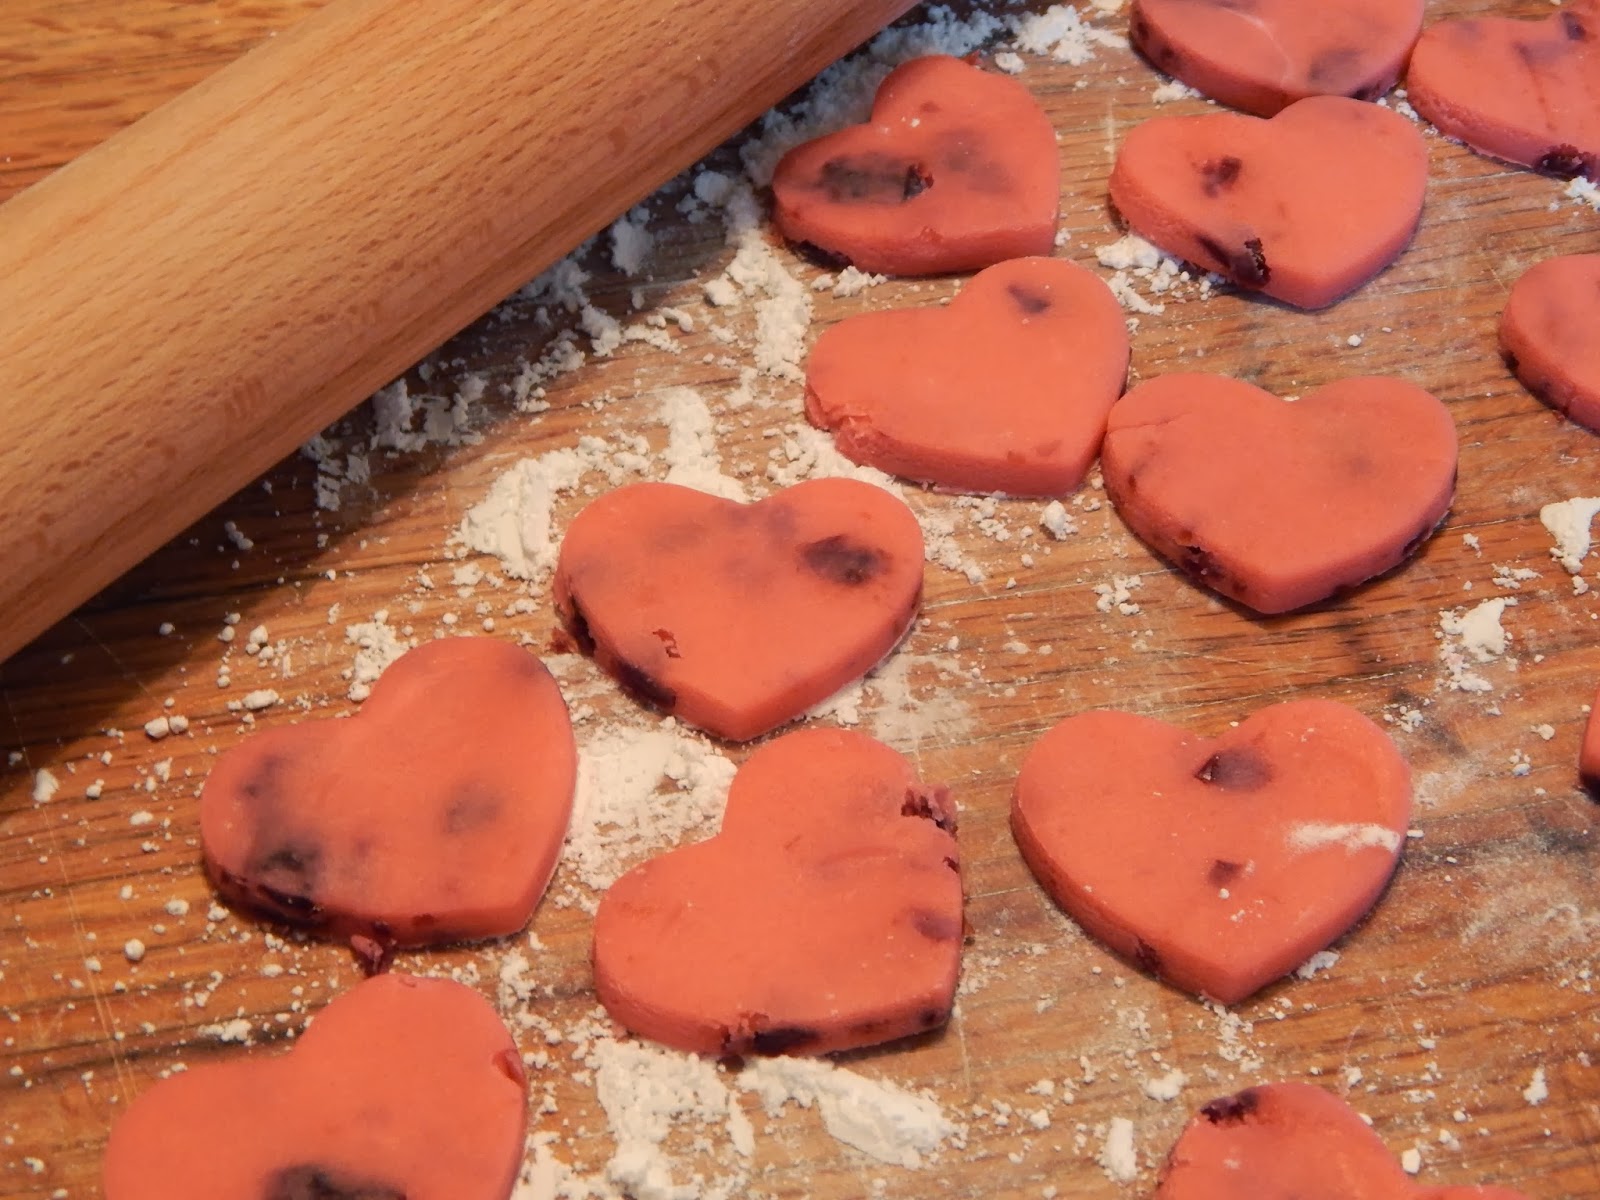
When we were ready to finish the cookies, we took out the dough one disc out at a time. Then he rolled out the dough and cut it  into heart shapes. I sprinkled the clean/sanitized counter with powdered sugar, instead of flour, so that it wouldn't add a nasty flour taste.

We then baked the cookies on a lightly sprayed cookie sheet at 375 degrees until they were firm and lightly golden brown. Then we put them on a wire rack and let cool completely.
When the cookies were cool we made the ganache. It was so easy and delicious! He put the chocolate chips into a heat proof bowl while I warmed the heavy cream in a small pot until hot and bubbly. Then I poured it over the chocolate chips and let it set for 2 minutes. We then stirred the mixture together until it formed a smooth delicious chocolate sauce.
It is decorating time! I used a tablespoon to pour the chocolate onto the cookies. I also put the cookies onto a rack over a sheet pan (you could also use wax paper) so the extra chocolate could drip off. Munchkin added the sprinkles behind me immediately before the ganache set up. 
After about an hour the ganache set up. At this point the cookies can be layered between wax paper (don't press, just lay them gently) and stored in an airtight container.
Ready for Nana.


After all that I made a delicious valentine's dinner. While I was prepping dinner, I looked out our window and saw this beautiful bird. I had to stop and take a picture.

Our dinner started with fresh crostini topped with a goat's milk brie and a balsamic marinated tomato salad. Dinner consisted of scalloped potatoes, quinoa salad (watch for this recipe coming soon), steamed edamame and pepper crusted steak with a red wine mushroom sauce. Then for dessert we, of course, had cookies and Vietnamese style coffee.
Appetizer

Scalloped Potatoes
Dinner!!

After dinner we drove down to Galveston for a family fun weekend. We had a great time with friends, family and beautiful weather. The boys fished, played horseshoes and crochet, then cooked fajitas. I was laid up with a hurt ankle so I took pictures and watched Olympic hockey :-)
      
What a beautiful night sky!

Chocolate Covered Cherry Cookies

3 c Flour
3/4 tsp baking powder
1/4 tsp salt
1 c butter, softened
1 c sugar
1 egg
1 Tbsp milk
1 tsp almond extract
1 tsp pink food coloring
4 oz dried cherries, chopped

In a separate bowl sift together flour, baking powder and salt. In another small bowl combine the egg, milk, food coloring and almond extract in a small bowl by whisking with a fork. In the bowl of an electric mixer cream together butter and sugar until light and fluffy. Then add the egg mixture, mix on low until combined, scraping down the sides of the bowl when necessary. With the mixer on low, slowly add the flour mixture.When the dough is homogeneous, add the dried cherry pieces and mix on low until evenly distributed. Form the dough into two balls, then shape into disks and wrap in plastic wrap. Refrigerate for at least two hours (I let them set overnight).

When ready to cut out cookies, preheat oven to 375 degrees. Lightly spray a cookie sheet with non-stick spray and set aside. Remove one disk from refrigerator at a time. Lightly dust your cleaned/sanitized/dry work space with powdered sugar and roll dough out to 1/4 inch thickness. Be sure you move the dough around making sure it isn't sticking to counter top, then cut with desired cookie cutter. You may have to push hard if a cherry bit is along the edge of cutter. Place cookies on prepared cookie sheet, leaving 1-2 inches in between cookies. Bake for 10-15 minutes until very lightly browned on the edges. Remove to a wire rack and let cool completely before topping with ganache or frosting of choice. Repeat with remaining dough.

Ganache

1 c heavy cream
8 oz semi-sweet chocolate chips

Make ganache after cookies are cooled. Put chocolate chips in a heat proof bowl. Heat cream over medium heat until hot and lightly bubbling. Immediately pour over chocolate chips and let rest for 2 minutes. Then stir chocolate and cream together until all lumps are gone and it forms a beautiful glossy chocolate sauce.

Set cookies on a wire rack over a sheet pan or wax paper and using a spoon or tablespoon carefully pour ganache over cookies one at a time. Immediately top with sprinkle or desired decorations. Ganache will set up after about an hour. Cookies can be gently stacked between layers of wax paper after ganache has set up and store in an airtight container.

Thursday, February 13, 2014

Chicken Piccata.....

I love chicken piccata. It is so lemony, buttery and delicious. Until I found Stefano's, a local pizza/Italian delivery restaurant, I had never found a restaurant that made it how I like it. I fell in love with their version. Why? You might ask. Because they added mushrooms, red onions and didn't skimp on the sauce. I hate getting a plate of dry noodles with no sauce and no way to eat them because they are all globbed together, topped with a dry chicken breast sprinkled with a couple of capers. Trust me I was served this dish that way at a certain cheesecake joint and paid way too much for it. So this was my attempt to recreate Stefano's chicken piccata with very few improvements. The main improvement I made over their version was a pasta change up. I love whole wheat pasta, it has so much more flavor and I also prefer the texture. They use regular spaghetti noodles and I use whole wheat angel hair. Other than that I am just guessing at the recipe. My recipe came out great, although it didn't pass the munchkin test. He just had his Aunt Kirstin's left over mac n' cheese (because he said she makes the best) and one of the chicken pieces with freshly grated Parmesan. He called it "parmesan chicken". I think capers scare him. Don't be scared by capers, they are so good. I always rinse them, though, otherwise they will add a little too much brine flavor to the overall taste of the dish.

Start by gathering all the goods. Once you get started it will go pretty quick so have everything ready to go. Slice the veggies, rinse the capers, zest then cut the lemons in half. Precook your pasta leaving it a little al dente and set aside. Also preheat your oven to 350 degrees so it's ready to finish off the chicken.

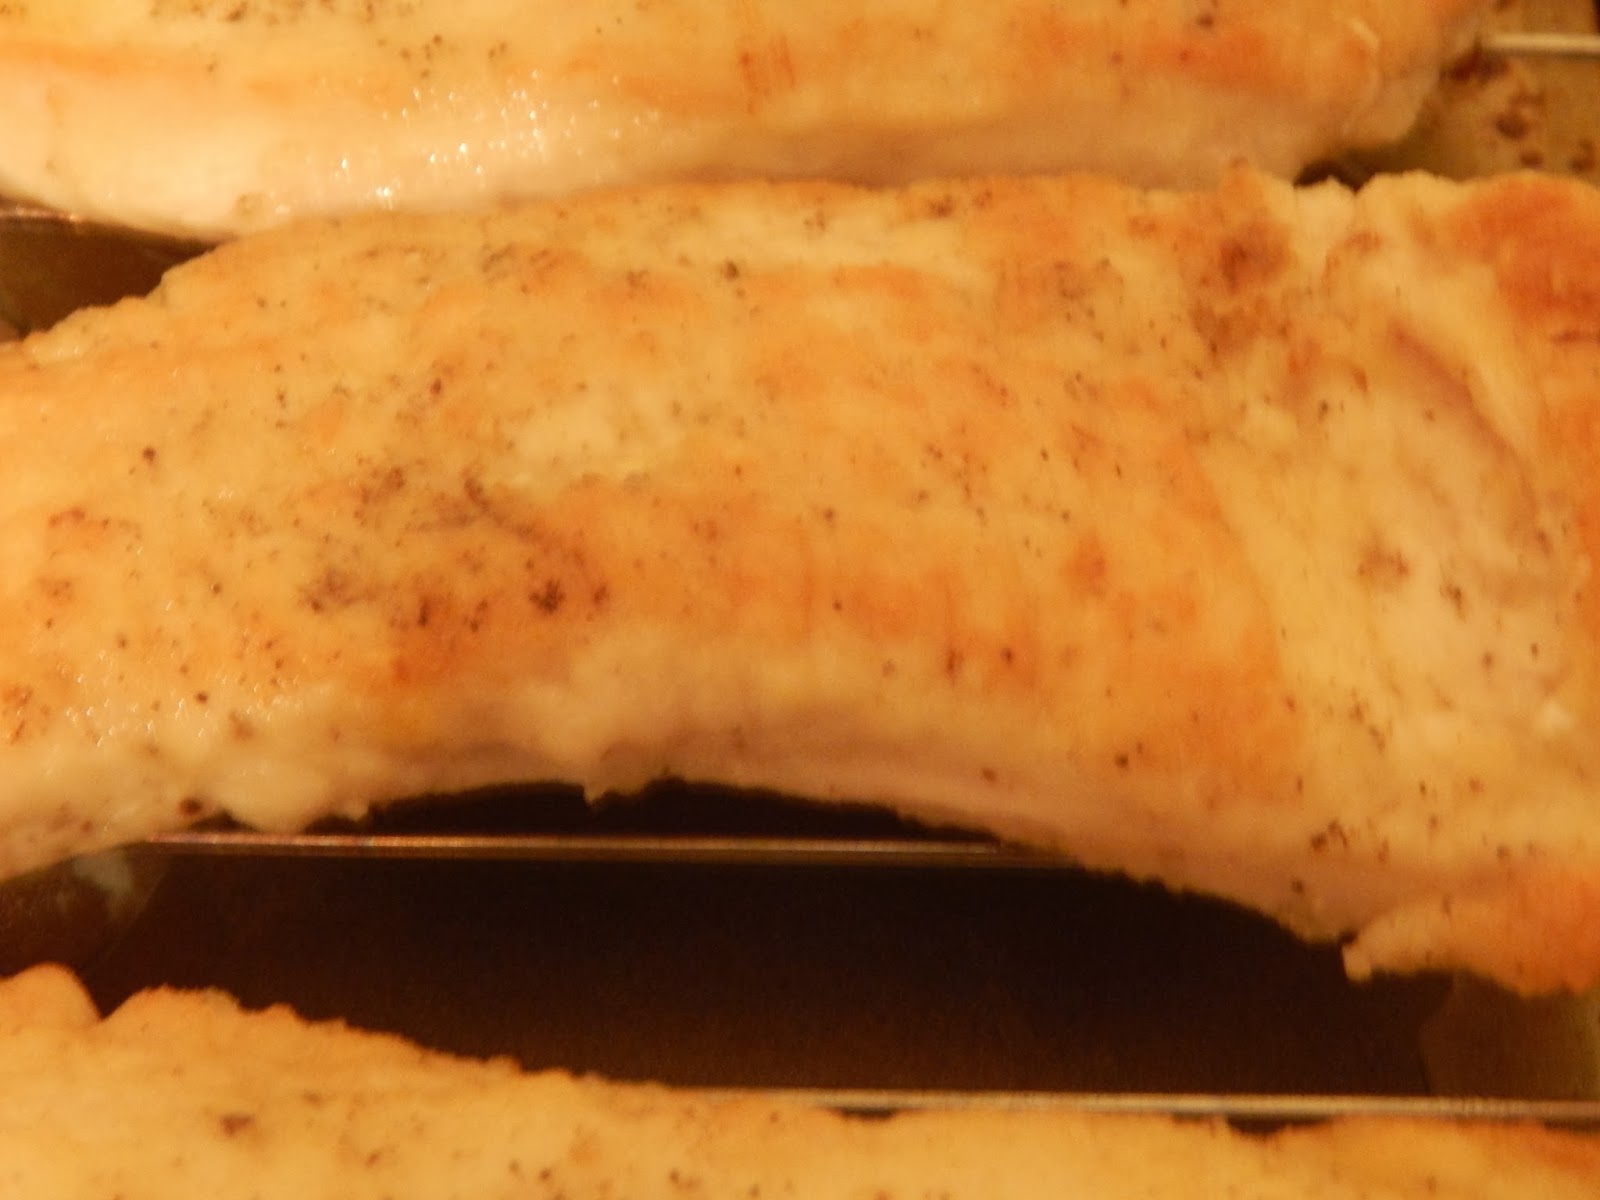
Then you want to pound out all three pieces of chicken until the are evenly thin, and cut those pieces in half. You will end up with six thin pieces of chicken breast. Make your coating by combining the flour and lemon zest. Season the chicken with salt and fresh ground pepper, then coat in the flour mixture. This will be a fairly light coating. Next you will saute them until they are lightly browned on both sides. (I did it in two batches but I had a fairly good sized pan). Put the chicken on a rack on a sheet pan and put into the oven for 5-10 minutes. (Mine was done the same time as the sauce).
Ready for the oven
Add the mushrooms and onions to the pan where the chicken was cooking and throw in about 2 Tbsp of the butter. Saute until lightly browned. Then add then wine and let reduce.
This is all the delicious fond (browned bits) from
cooking the chicken. This is a good thing.
After the wine reduces by about half, add the rest of the butter and the capers, then cook until the butter is completely melted. Then add the pasta. (I used about 2/3 of what I cooked). But you be the judge if you like it extra saucey add less pasta. If you like it drier add more. Saute for a couple of minutes, stirring, until every thing is incorporated and the noodles are hot (I use tongs for this part to make sure all the goodies are distributed evenly).
This is the time to remove your chicken, it is done when it reaches and internal temperature of 165 degrees. Serve up the pasta and top with a piece of chicken. One should be enough but if you are really hungry put two. Garnish with a little parmesan cheese. If you are really trying to impress somebody add some chopped parsley and a twist of lemon.
Yum! It tasted better than the picture can show!!
P.S. It took way longer to write this up than it did to make this whole dinner, so don't be intimidated and give it a try. Or just order Stefano's, they deliver :-)


Chicken Piccata 

3 Boneless, Skinless Chicken Breasts
1 c AP Flour
kosher salt
fresh ground pepper
3 Tbsp Olive oil
2 c mushrooms, sliced
1/2 red onion, thinly sliced
2 lemons, zest removed and juiced
1/4 c capers, rinsed
1 stick butter
1-2 c white wine
Parmesan for garnish (optional)
1 pkg angel hair pasta (I prefer whole wheat)

Preheat oven to 350 degrees. Prepare a sheet pan with a rack and set aside for the chicken. Pre-cook and drain your pasta, leaving it slightly al dente. Set aside. Pound out the chicken until nice and thin. Cut these pieces in half, leaving you with 6 thinly pounded chicken breasts. On a large plate or dish mix together the flour and lemon zest. Season the chicken with kosher salt and freshly ground pepper then coat in the flour mixture. This will be a fairly light coating.

Heat a large, preferably stainless steel, sauce pan and 3 Tbsp of olive oil over medium heat. Saute chicken until golden brown on both sides, about 3-5 minutes a side. Do this in two or more batches, you may need to add more oil in between batches. Remove chicken to prepared pan and put in oven to finish (It should take the same amount of time to finish as it takes to make the sauce, about 10 minutes). To the saute pan (browned bits and all) add the sliced mushrooms and onions and about 2 Tbsp butter. Saute until browned, about 5 minutes. Then add the wine, scraping up the browned bits from the bottom of the pan and reduce by half, about 5 minutes. Add the rinsed capers and the remaining butter. Cook until all the butter melts, then add the pasta (I only added about 2/3 of the cooked pasta). Toss the pasta in the sauce, coating evenly (Using tongs works best). Remove chicken from oven when it reaches 165 degrees. Put pasta mixture onto plates, then top with chicken and shredded parmesan. Enjoy!!

Wednesday, February 12, 2014

Oatmeal Carrot Cake Sandwich Cookies....

Sooooo I am late posting this but it is a good one. We had quite a few carrots come out of our garden and after eating them raw, making stir fry and beef stew, we decided we wanted something sweet. My husband really wanted carrot cake but since I needed to make something for the super bowl it had to be easier to serve. Well that same day I got an e-mail from the Martha Stewart Daily recipe e-mails and it was all about carrot cake. She had carrot cake cupcakes, cakes, and cookies. I only had the required ingredients on hand for the cookies so that is how I decided which to make. Now I thought it sounded weird but I love, love, love carrot cake. Let me tell you these cookies were amazing. I compare them to those pre-wrapped oatmeal cream cookies form a major junk food company and really good spiced cookies. I left the frosting really loose for two reasons. One I didn't have enough cream cheese and two I wanted it to be super soft and creamy. That's why my filling recipe has such weird ratios. However I would make it exactly the same again, except I wouldn't refrigerate the completed cookies until I was sure they needed it because they tasted way better before they went into the fridge.


Lightly spread with the filling
Top with a second cookie

Enjoy how amazing it is!

Super Delicious Close-Up


Oatmeal Carrot Cake Sandwich Cookies

1 cup brown sugar
1 cup sugar
2 sticks unsalted butter, softened
2 eggs
1 tsp vanilla
2 cups flour
1 tsp baking soda
1 tsp baking powder
1/4 tsp salt
1 tsp ground cinnamon
1/2 tsp ground nutmeg
1/2 tsp ground ginger
2 cups old-fashioned rolled oats
1 1/2 cups finely grated carrots, (about 3 large carrots)

Cream Cheese Filling
6 oz cream cheese, softened
1 stick butter
1 1/3 cup powdered sugar, sifted (you could use more or less depending on consistency you like)

Preheat oven to 350 degrees. Line two baking sheets with parchment paper or cooking spray. In the bowl of a stand up mixer with the paddle attachment, combine sugars and butter; beat on medium until light and fluffy, about 3 to 4 minutes. Then add the eggs and vanilla, and beat on medium speed until well combined.
In a separate bowl, sift together flour, baking soda, baking powder, salt, cinnamon, nutmeg, and ginger. Gradually add flour to butter mixture. Mix on a low speed until mixture comes together, scraping down the sides. Then mix in oats and shredded carrots. Cover dough and place in refrigerator until firm, about 1 hour.
Using a 1/2-ounce ice-cream scoop or your hands (try to make them all the same size, about 1 tbsp dough), scoop dough onto prepared baking sheets, leaving 2 inches between cookies. Bake until lightly browned but still soft (rotate pan halfway through baking) about 10-12 minutes. Transfer to a wire rack to cool.

For the filling, cream together cheese and butter until fluffy and smooth, then slowly add in sifted powdered sugar until it reaches desired consistency.  Cover and set aside until cookies are completely cooled.

When the cookies are completely cooled, spread with cream cheese filling and top with a second cookie. You can store them in an airtight container for in the refrigerator, but I say eat them all the same day they are way, way better before they are refrigerated.


Martha's Original Recipe!!! Check it out! and sign up for her daily recipe e-mails. I love them.

Meatloaf...


My husband loves meatloaf but I have been trying to win my little munchkin over for years. I think this meatloaf recipe finally did. He ate TWO pieces. Now for a boy that doesn't like his food mixed up, unless it is in a tortilla, this is BIG. He said it was the best meatloaf ever. I think may have been the slightly sweet yet really savory glaze.

I started out by sauteing my onions and bell pepper. I really hate crunchy/under-cooked bell peppers so I like to cook them before adding them to the meat "dough". If you like that crunch by all means throw them in raw.

This was the first time I used my stand mixer to blend up the meat "dough" and I was a little scared but it actually worked great. You can definitely use the tried and true hand mix method. It was just cold outside and I didn't want to let the water run for twenty minutes to warm up enough to get all the goo off my hands.

Once your meat mixture is nice and homogeneous, form it into a loaf. I learned from Alton Brown a few years ago that the best way to cook meatloaf is to take a sheet pan, a rack that fits into the sheet pan and piece of foil the estimated size of your meatloaf. You poke a few holes into the foil to allow grease to drain, set it on top of the rack and put the rack into the sheet pan. Then you form your meat into a loaf on the foil. This means no soggy/greasy meatloaf and a nice browned glaze. Oh and you should spray the pan with nonstick spray just in case to aid in easy clean up.
 Now it is ready to pop into a 350 degree oven for thirty minutes. While it is cooking make the glaze. After the 30 minutes apply your glaze with a spoon or pastry brush.


Cook it for twenty more minutes and apply a second coat of glaze. Then continue to cook until the internal temperature is 165 degrees. Mine took 1 hour and 15 minutes but use that thermometer and you will know for sure when it is done.I have a digital thermometer with a metal probe that sticks into the meat. The digital screen has a magnet you can secure to your fridge or oven. The thermometer will beep when the food reaches the right temperature. I highly recommend this kind of thermometer for all meat cooking. It takes away the guess work and will prevent overcooked dry nasty food.

 Notice the thumbs up from my little man? Now meatloaf is really hard to take a pretty picture of but it is so yummy. I like to drizzle my piece with my favorite hot sauce, sriracha. I served this dinner with fully loaded baked potatoes (a rare treat) and sweet peas. My little man gobbled up the whole plate. I hope you enjoy, I also highly recommend watching the Good Eats episode on meatloaf to really see how to set up the pan properly.


Meatloaf

1 lb ground beef
1 lb ground pork
2 Tbsp Worcestershire sauce
2 Tbsp Ketchup
2 eggs
1/2 cup Panko bread crumbs
1 Tbsp Montreal steak seasoning
1/2 lg onion, finely diced and sauteed to soften
1/2 bell pepper, finely minced and sauteed to soften

Glaze
2 Tbsp Worcestershire Sauce
1 Tbsp Honey
1/2 cup ketchup

Preheat oven to 350 degrees. Prepare a Sheet pan with a rack and piece of foil. Poke holes into the foil, put onto rack and put rack into the sheet pan. Pray lightly with nonstick spray. Add all the meatloaf ingredients into the bowl of a stand mixer with paddle attachment and mix on medium low until thoroughly combined. Form into a loaf and bake for thirty minutes. While cooking stir together glaze ingredients in a small bowl. After the first thirty minutes glaze the meat loaf with a pastry brush. After 20 more minutes glaze with remaining mixture and continue cooking until internal temperature reaches 165 degrees. Let rest 5-10 minutes, slice and serve with your favorite side dishes.

Thursday, February 6, 2014

Oak Meadow Giveaway @ Secular Homeschool

Ok so you know we use and love our Oak Meadow curriculum. Well this month at Secular Homeschool they are giving away a complete curriculum!! Can you believe it? Head on over and enter. I am hoping either you or me wins :-)

Secular Homeschool Oak Meadow Giveaway

Saturday, January 18, 2014

Chicken and Dumplings, Gnocchi Style....

The latter part of this week my husband was really, really sick with strep throat. On the second day of his sickness I decided to make him some magical healing chicken soup. Of course, it didn't magically heal him. In fact, he couldn't even eat anything but the broth until two days later. Oh well, I did enjoy a big bowl of it in between schooling Miles and taking temperatures/medicating my husband. Let me tell you it was awesome. When he finally did have a bowl with all the goodies he loved it too. Although he said the chicken was to hard to swallow. 

So start out by prepping all of your veggies. This means washing, peeling and dicing. I used yellow bells and red onions because that was what I had but I am sure you can use any kind of onion or bell pepper (I don't particularly like green, unless I am making Cajun food). Start warming up your oil in your favorite soup pot. I love my enamel coated cast iron pot, my mother-in-law gave me as a gift one year, it heats evenly and it stays hot.

Once the oil is hot, first add the onions and let them cook down a bit before you add all the other veggies. Now cook those down until the get nice and tender and slightly browned.


When the veggies reach this point add some dry white wine to get all those lovely browned bits (fond) off the bottom of the pot. Let the wine reduce a bit, then add your broth. I had 3.5 cups of turkey stock from a turkey I made for a friend and then I added 4.5 cups of chicken stock, not homemade this time. Also add the thyme, and bay leaves. Bring this to a boil and add you chicken. I had leftover chicken that I removed from the bones and chopped up. You could use raw or precooked chicken it is really up to you. It will come out good either way. Let this boil for at least 30 minutes. Then add your gnocchi, you can make it from scratch if you like, it isn't too difficult. However, I found a premade one recently that I like. I bought it at Aldi, so if you have that grocery store around give it a try.

After you add the Gnocchi let it cook for at least 10 minutes over medium heat, you want it at a light simmer so the gnocchi doesn't fall apart. At this point you have a decision to make. If you like it thin like a soup then stop here, remove the thyme sticks, bay leaves, add the thinly sliced spinach and serve. If you like it thick like traditional chicken and dumplings then cook it longer. The starch in the gnocchi will start to thicken the soup. Just stir it every so often so your gnocchi doesn't stick to the bottom. Remove the thyme sticks and bay leaves and add the sliced spinach right before serving.

Serve and enjoy! This is my delicious bowl of soup. I think this soup would be great with a thick crusty slice of garlic bread. Yum! Like I said the sick boy couldn't eat anything but the broth and that would have been a boring picture. ;-)


Chicken and Dumplings, Gnocchi Style

3 Tbsp Olive Oil
1/2 large onion, small dice
1 yellow bell pepper, small dice
3 stalk celery, small dice
3 carrots, small dice
1/2 c white wine
8 c chicken broth
4 thyme sprigs
2 bay leaves
2 chicken breast, diced
1 pkg gnocchi
2.5 oz or 3 cups raw spinach, thinly sliced

Add olive oil to a large soup pot and heat over medium heat. When hot add onions and saute until translucent about 5 minutes. Add bell pepper, carrots and celery to pot, season lightly season with salt and pepper, then saute an additional 10 minutes until lightly browned. Add wine and lightly scrape up any brown bits off of bottom of pot. Let reduce slightly then add broth, thyme and bay leaves and bring to a boil. Add chicken, then cook for about 30 minutes on medium-low at a light simmer. Add gnocchi and cook an additional 10 minutes, then season with salt and pepper to taste. Add sliced spinach right before serving. The longer the soup cooks with the gnocchi the thicker it will get, so if it's not to your desired consistency cook it a bit longer.